使用Gitalk为Hexo Fluid博客添加评论

关于Gitalk

一个基于 Github Issue 和 Preact 开发的评论插件

就这么简单

插件完全免费,非常适合使用 GitHub Page 或 Cloudflare Page 搭建的博客

快速安装

GitHub授权

直接打开 GitHub Oauth授权应用

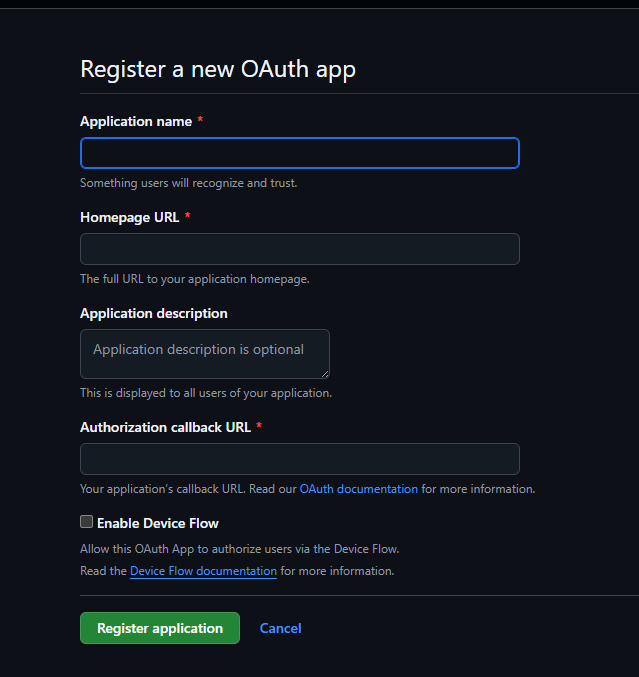
Application name: 随意名字

Homepage URL: 网站URL,例如我的 blog.clazys.qzz.io

Application description: 随意,描述

Authorization callback URL: 同 Homepage URL

直接Regist即可

注意,由于我已经注册好Client secrets,正常情况为空

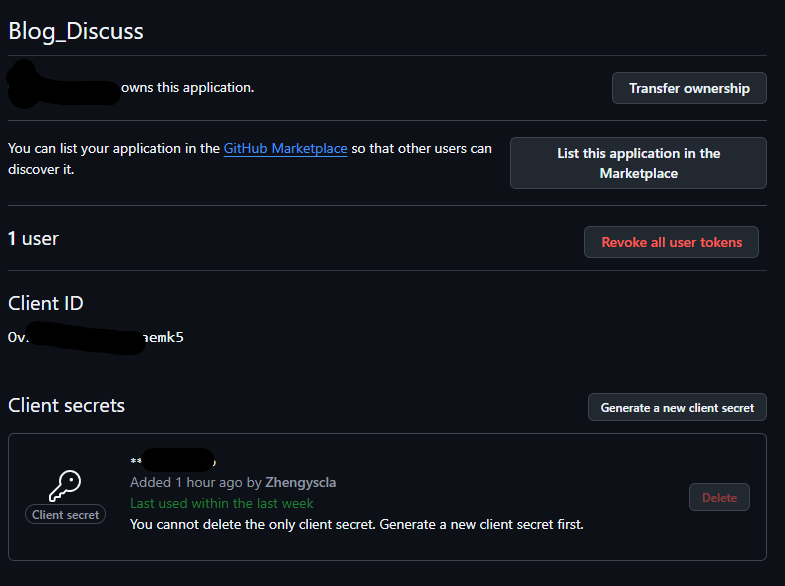
点击Generate a new client secret,创建一个密钥,保存到任何地方或者保持网页不要刷新即可 (只显示一次)

编辑 Hexo Fluid 配置

打开 _config.fluid.yml_config.yml ,依据你的主要配置而定。找到以下内容

1
2
3
4
5
6
7
8
# 评论插件
# Comment plugin
comments:
enable: false
# 指定的插件,需要同时设置对应插件的必要参数
# The specified plugin needs to set the necessary parameters at the same time
# Options: utterances | disqus | gitalk | valine | waline | changyan | livere | remark42 | twikoo | cusdis | giscus | discuss
type: disqus

改成

1
2
3
4
5
6
# 评论插件
# Comment plugin
comments:
enable: true # 改动1
...
type: gitalk # 改动2

还有:

1
2
3
4
5
6
7
8
9
10
11
12
13
14
15
16
17
18
19
20
21
# Gitalk
# 基于 GitHub Issues
# Based on GitHub Issues
# See: https://github.com/gitalk/gitalk#options
gitalk:
clientID: # 写上你的GitHub页面上的 Client ID
clientSecret: # 写上你的GitHub页面上刚生成的的 Client Secret
repo: # 你的 GitHub 博客名字,大约是 xxxx.github.io
owner: # 你的GitHub用户名
admin: ['name'] # 你的GitHub用户名
language: zh-CN
labels: ['Gitalk']
perPage: 10
pagerDirection: last
distractionFreeMode: false
createIssueManually: true
# 默认 proxy 可能会失效,解决方法请见下方链接
# The default proxy may be invalid, refer to the links for solutions
# https://github.com/gitalk/gitalk/issues/429
# https://github.com/Zibri/cloudflare-cors-anywhere
proxy: https://cors-anywhere.azm.workers.dev/https://github.com/login/oauth/access_token

保存配置,UPLOAD,直接使用


使用Gitalk为Hexo Fluid博客添加评论
https://blog.clazys.qzz.io/2026/03/28/discuss-hexo/
作者
Clazys
发布于
2026年3月28日
许可协议